Top Mistakes DIY Installers Make With Rangehoods
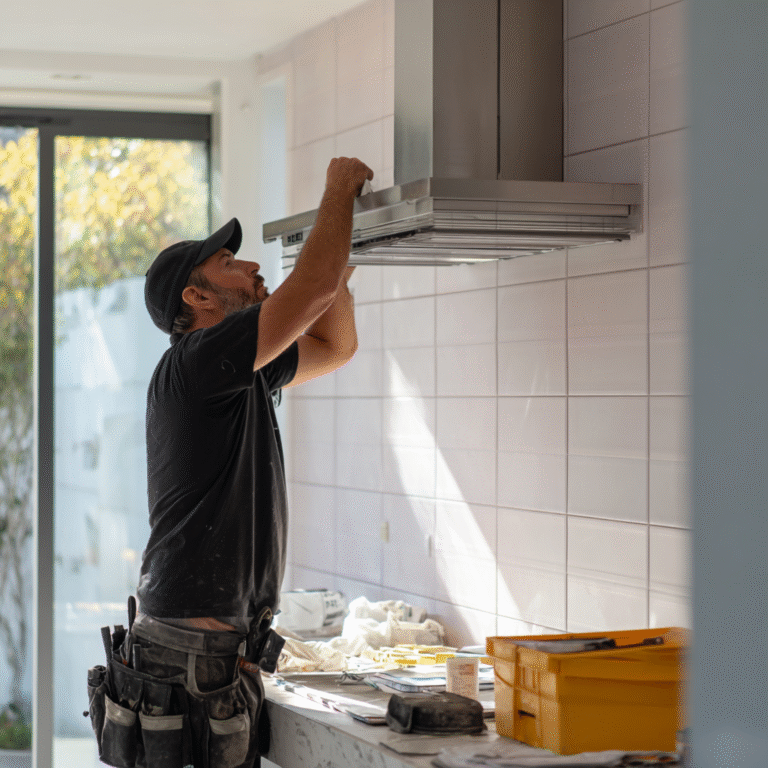
A rangehood is one of the hardest-working appliances in your kitchen. It keeps smoke, grease, and odours under control — but only if it’s installed correctly. Many homeowners attempt a DIY installation to save money, but rangehoods are more complex than they appear. Getting it wrong can mean poor performance, safety hazards, or even costly repairs later.
Here are the most common mistakes DIY installers make with rangehoods — and how to avoid them.
1. Using the Wrong Ducting
Flexible plastic ducting might be cheap and easy to work with, but it’s not suitable for a rangehood. It restricts airflow, traps grease, and increases fire risk. The correct option is rigid or semi-rigid ducting, sized properly for the rangehood’s motor capacity.
Pro tip: Always check the manufacturer’s recommended duct diameter — and never reduce it to “make it fit.”
2. Too Many Bends in the Duct Run
Every bend in the duct reduces efficiency and increases noise. DIY installers often route ducts around roof beams or joists instead of finding the most direct path.
Pro tip: Keep duct runs as short and straight as possible, with a maximum of two bends.
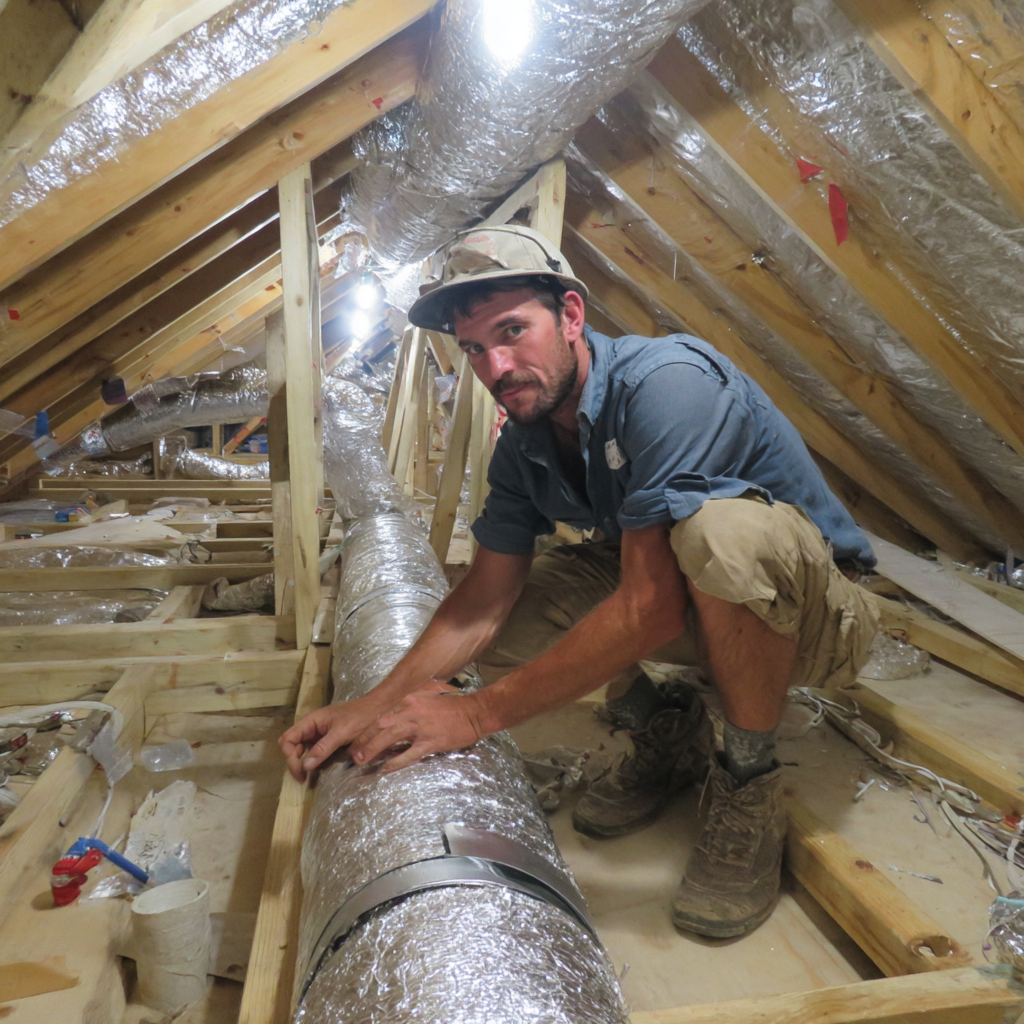
3. Venting Into the Ceiling or Roof Cavity
One of the biggest mistakes we see: people venting the rangehood into a ceiling cavity or roof space instead of outside. This leads to grease build-up, mould, and serious fire hazards.
Pro tip: Always vent to the outside through the roof or an external wall with a proper cowl or grille.
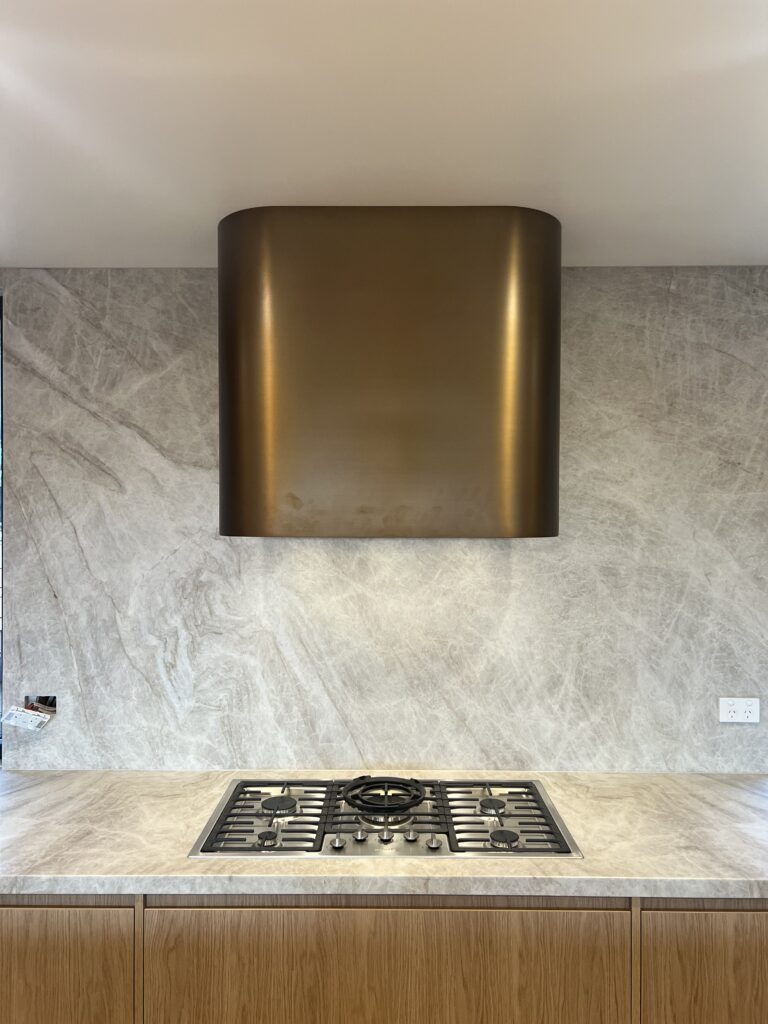
4. Incorrect Mounting Height
Mounting too low makes cooking awkward and can damage the rangehood. Mounting too high reduces its effectiveness. Manufacturers provide recommended heights for gas and electric cooktops — usually between 600–750mm.
Pro tip: Measure carefully and follow the brand’s installation guide.
5. Skipping Proper Sealing
DIYers sometimes forget to seal joins in ducting or around ceiling penetrations. The result? Leaks, reduced suction, and cooking smells that linger in the house.
Pro tip: Use fire-rated duct tape or clamps designed for ventilation, not ordinary masking or packing tape.
6. Ignoring Electrical Requirements
Rangehoods require proper electrical connections. Plug-in models are simpler, but many need hardwiring. We often see DIY attempts that don’t meet safety standards, which can void warranties or pose fire risks.
Pro tip: Always have a licensed electrician handle the electrical work.
7. Forgetting About Noise Control
When installed incorrectly — with poor duct choice, sharp bends, or loose fittings — rangehoods can sound like jet engines. Noise is one of the top complaints we hear from customers who’ve tried DIY installs.
Pro tip: Professional installers know how to design ducting to minimise turbulence and vibration.
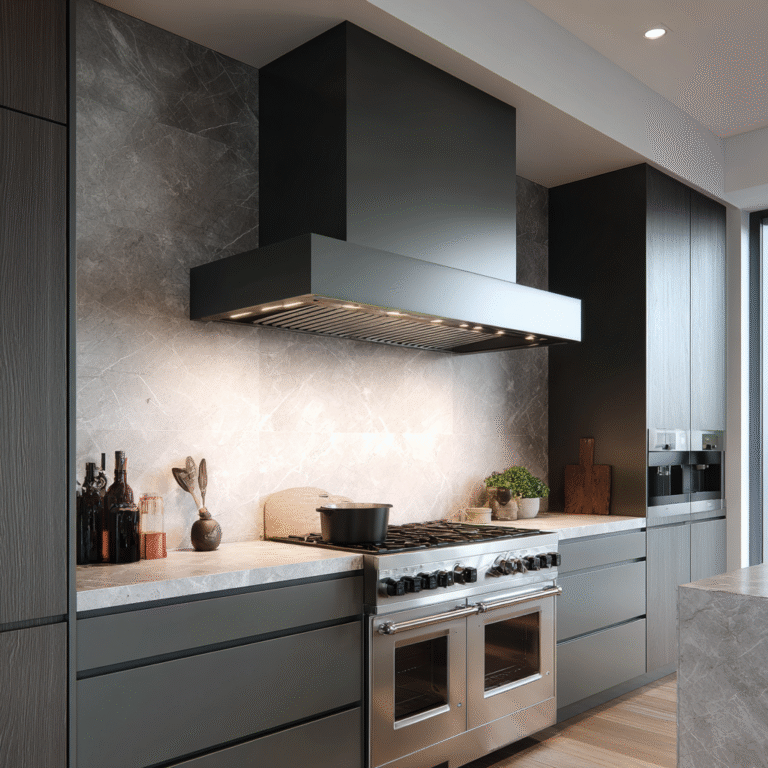
Why Professional Installation Is Worth It
A rangehood is only as good as its installation. Cutting corners may save a few dollars upfront, but it can cost you in performance, comfort, and safety. Professional installers:
- Use the correct ducting and venting methods.
- Ensure compliance with Australian standards.
- Optimise placement for performance and aesthetics.
- Provide peace of mind with warranties and long-lasting results.
At Capital Rangehoods, we see and fix these DIY mistakes all the time. Getting it right the first time means a quieter, more effective, and safer kitchen.